

 soofha
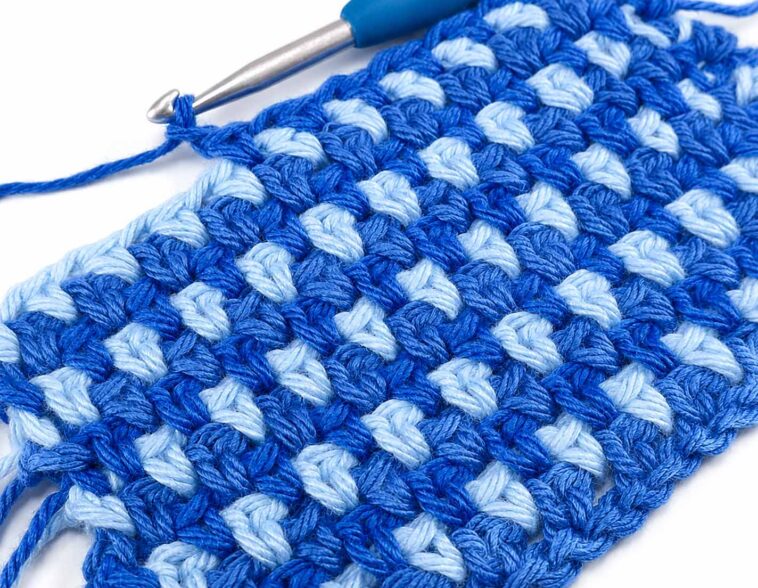
Hello, lovely crocheters! 💕 Welcome back to our cozy little corner of handmade creativity. Today, we’re learning a timeless crochet favorite: the Moss Stitch.
If you’re looking for a stitch that is simple enough for beginners but still creates a beautiful, polished fabric, you’re going to love this one. The Moss Stitch has a wonderful texture, a neat modern appearance, and a relaxing rhythm that makes it perfect for everything from blankets and scarves to dishcloths and home décor.
So grab your favorite yarn, your crochet hook, and perhaps a warm cup of tea, and let’s get started! 🧶☕️
What Is the Crochet Moss Stitch?
The Moss Stitch is one of those crochet patterns that looks much more complicated than it actually is. It combines single crochet stitches and chain-1 spaces to create a soft, woven-looking texture.
One of the best things about this stitch is that once you complete the foundation row, the remaining rows follow the same simple repeat. That makes it an excellent stitch for relaxing crochet sessions.
The finished fabric is generally flexible, lightweight, and beautifully textured without being overly bulky.
What You Should Know Before Starting
Before we begin, there are a few important details to keep in mind.
- You will work your single crochet stitches into the chain-1 spaces, rather than into the tops of the single crochet stitches.
- The stitch pattern alternates single crochet and chain-1 spaces.
- Each single crochet and chain-1 space is important to the overall pattern.
- For this tutorial, begin with an odd number of chains.
- After the foundation row, the same basic sequence is repeated across every row.
- The Moss Stitch works beautifully with many different yarn types and colors.
- It looks especially lovely with solid colors, stripes, gradients, and variegated yarn.
Once you understand where your hook needs to go, the stitch becomes wonderfully easy to memorize.
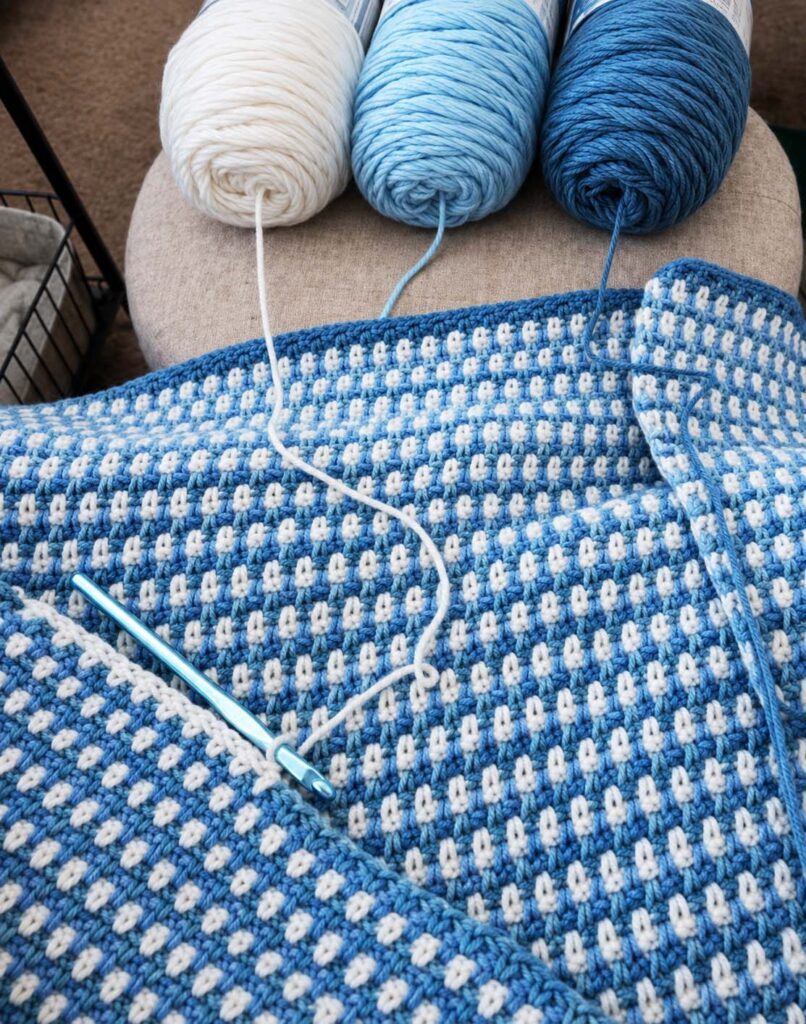
How to Crochet the Moss Stitch
For our practice swatch, we’ll begin with 13 chains.
Step 1: Make the Foundation Chain
Chain 13.
Remember, the foundation chain should be an odd number for this version of the Moss Stitch.
If you want to make a larger project, simply increase the number of chains while keeping the foundation chain odd.
Step 2: Make the First Single Crochet
Insert your hook into the third chain from the hook and make a single crochet.
You may be wondering why we’re skipping two chains instead of one.
That’s because this setup creates the first chain-1 space and helps establish the Moss Stitch pattern.
If you’re new to the stitch, you can place a stitch marker around the skipped chains to make that first space easier to recognize. It can be especially helpful when working with a loose or slippery yarn.
Continue Across the Foundation Row
Now we begin the repeating pattern.
Chain 1, skip the next chain, and single crochet into the following chain.
Continue repeating:
Ch 1, skip 1 chain, sc in next chain
Work this sequence all the way across your foundation chain.
You should finish the row with a single crochet.
For a 13-chain starting chain, you’ll have the first row established with alternating single crochet stitches and chain-1 spaces.
Don’t worry if the first row looks a little unusual. Foundation chains can be difficult to read at first. Gently stretch the work and look for the small openings between your stitches. Those openings become much easier to recognize once you begin Row 2.
Row 2: The Easy Repeat
Here’s the wonderful part—the Moss Stitch becomes much more straightforward after the first row.
Step 1: Chain 2 and Turn
Chain 2 and turn your work.
This turning chain helps bring your yarn to the correct height for the next row.
Step 2: Single Crochet Into the Chain-1 Space
Instead of inserting your hook into the top of the single crochet from the previous row, look for the chain-1 space.
Insert your hook into that little gap and make a single crochet.
This is the key to the Moss Stitch.
Step 3: Repeat Across
Continue working:
Chain 1, skip the next stitch, single crochet into the next chain-1 space.
Repeat this sequence across the entire row.
When you reach the end, work your final single crochet into the last appropriate chain-1 space.
Then simply repeat Row 2 for every additional row.
That’s it!
Once you become familiar with the rhythm, you’ll probably find yourself crocheting the Moss Stitch almost automatically.
Moss Stitch Pattern at a Glance
For easy reference:
Foundation: Chain an odd number.
Row 1:
Sc in 3rd ch from hook, *ch 1, skip 1 ch, sc in next ch; repeat from * across.
Row 2:
Ch 2, turn. Sc in first ch-1 space, *ch 1, skip 1 stitch, sc in next ch-1 space; repeat from * across.
Repeat:
Continue Row 2 until your project reaches the desired length.
Important: Always work your single crochet stitches into the chain-1 spaces rather than directly into the tops of the single crochet stitches.
How to Make a Moss Stitch Gauge Swatch
If you’re planning to use this stitch for a blanket, scarf, or another project that needs a specific finished size, making a gauge swatch is a great idea.
Start by crocheting a small Moss Stitch sample that is at least 4 inches wide and 4 inches tall.
Once your swatch is complete:
- Lay it flat without stretching it.
- Measure a 4-inch section across the middle.
- Count the stitches and spaces within that measurement.
- Compare your stitch count with the size you want to make.
Example
Suppose your gauge is 12 stitches across 4 inches.
You want your finished blanket to be approximately 32 inches wide.
Since:
32 ÷ 4 = 8
You would multiply:
12 × 8 = 96
Because this version of the Moss Stitch begins with an odd-numbered foundation chain, you would adjust the number to 97 chains.
Keep in mind that everyone’s tension is different. Your actual stitch count may vary depending on your yarn, hook size, and crochet tension.
If your calculation results in a number that doesn’t fit the stitch pattern, simply adjust to the nearest suitable odd number.
Choosing Yarn for the Moss Stitch
One of the reasons I love the Moss Stitch is how beautifully it works with different types of yarn.
You can use:
- Cotton yarn for dishcloths and kitchen projects
- Acrylic yarn for blankets and throws
- Soft baby yarn for baby blankets
- Wool blends for warm scarves and accessories
- Variegated yarn for colorful effects
- Multiple colors for stripes and color-blocked designs
The stitch has enough texture to make solid colors interesting, while variegated yarn can create beautiful little pops of color throughout the fabric.
For a more modern and subtle look, try two neutral shades. For something playful, alternate bright colors every few rows.
What Can You Make With the Moss Stitch?
The possibilities are almost endless!
Moss Stitch Blankets
This is one of my favorite ways to use the stitch. The texture is attractive without being too heavy, making it wonderful for cozy blankets and throws.
Scarves
The simple repeat makes the Moss Stitch ideal for scarves. Once you get into the rhythm, it’s an enjoyable project to work on while relaxing.
Dishcloths
Cotton yarn paired with the Moss Stitch makes a practical and pretty dishcloth. The texture gives the fabric a lovely handmade appearance.
Baby Blankets
Choose a soft, washable yarn in gentle colors for a beautiful baby blanket.
Home Décor
The stitch can also be used for pillow covers, table runners, baskets, placemats, and other handmade décor pieces.
Helpful Moss Stitch Tips for Beginners
Keep Your Tension Relaxed
Try not to pull your stitches too tightly. A relaxed tension makes it easier to insert your hook into the chain-1 spaces.
Look for the Spaces
When working Row 2 and beyond, focus on the little openings between the stitches. Those are your main working points.
Use Stitch Markers
If you have trouble finding the beginning or ending spaces, a stitch marker can make things much easier.
Count Your Stitches
If your project starts getting wider or narrower unexpectedly, stop and count your stitches. Missing a chain-1 space or accidentally crocheting into the wrong location can change your stitch count.
Don’t Worry About the First Row
The foundation row often looks less impressive than the later rows. Once several rows are complete, the characteristic Moss Stitch texture becomes much more visible.
Why Crocheters Love the Moss Stitch
There’s something wonderfully relaxing about this stitch. The simple combination of single crochet and chain-1 spaces creates a consistent rhythm that is easy to memorize.
It also gives handmade projects a clean, delicate texture without requiring complicated stitch combinations.
For beginners, it’s a fantastic way to practice:
- Single crochet
- Chain stitches
- Working into spaces
- Maintaining even tension
- Counting stitches
- Reading a simple repeating pattern
For experienced crocheters, it’s a dependable stitch that can be used when you want something beautiful without spending hours learning a complicated stitch sequence.
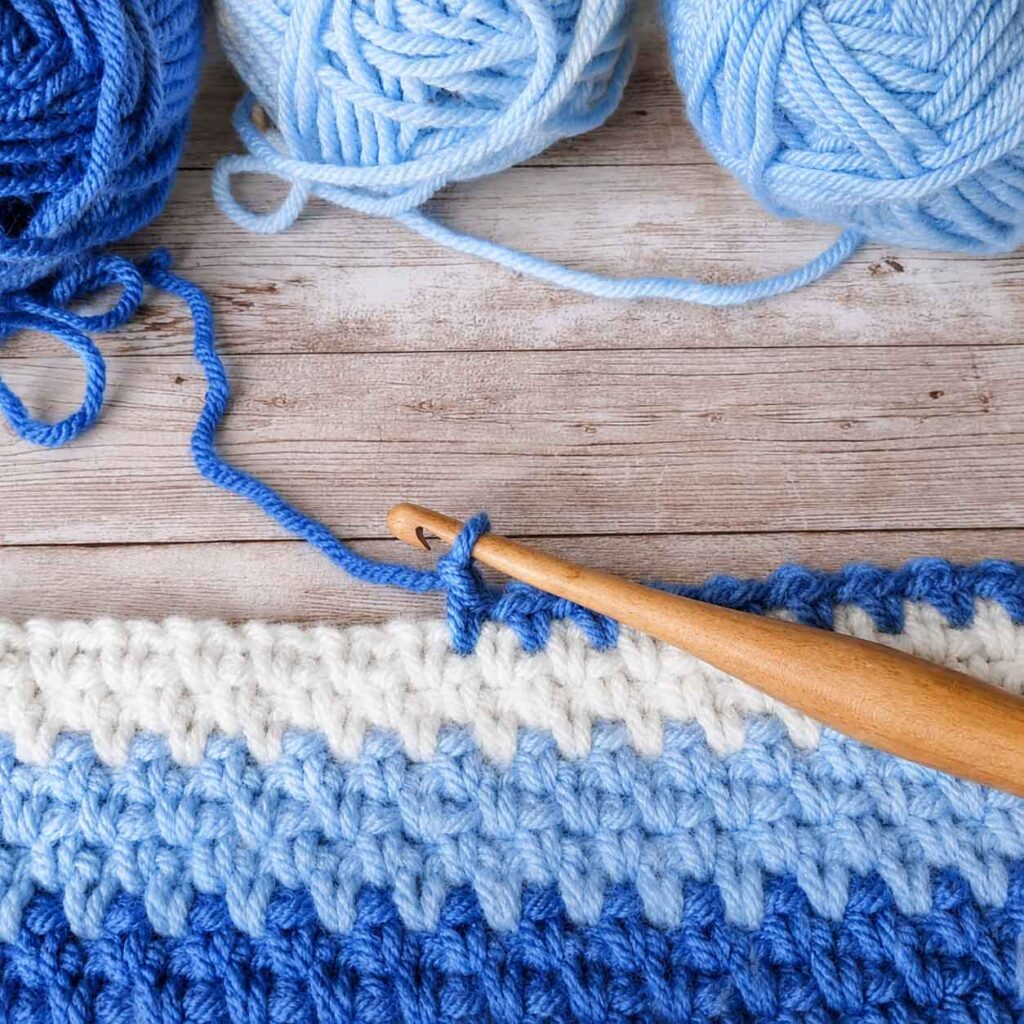
Moss Stitch
Moss Stitch Video Tutorial
If you prefer learning visually, a video tutorial can be especially helpful for seeing exactly where to insert your hook.
Watch the tutorial while following along with your own yarn and hook. Pause whenever necessary and practice a few rows until the movement feels natural.
Once you understand the placement of the stitches, you’ll see just how simple this beautiful pattern really is. 🎥🧶
Final Thoughts
And there you have it—a simple, beautiful, and wonderfully versatile Crochet Moss Stitch!
This stitch may look intricate when you first see the finished fabric, but the actual technique is wonderfully beginner-friendly. Once you understand that your single crochet stitches belong in the chain-1 spaces, the entire pattern starts to flow.
Whether you’re making a cozy blanket, a pretty scarf, a practical dishcloth, or a handmade home décor project, the Moss Stitch is a beautiful choice.
So grab your favorite yarn, make your foundation chain, and give it a try. Don’t worry if your first few rows aren’t perfect—every crochet project is part of the learning process.
Most importantly, enjoy your time with your hook and yarn. 💕🧶
Happy crocheting, sweet friends!
XOXO 💖

