

 soofha
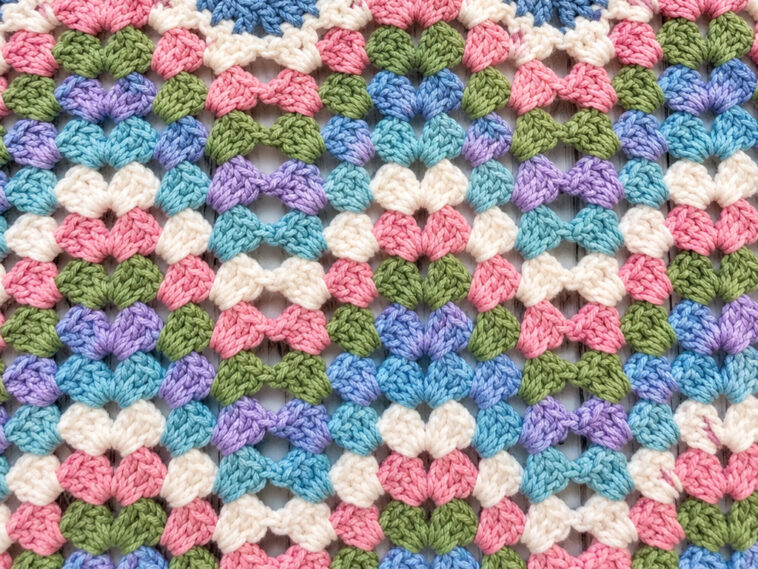
Hello, dear crochet friends! Welcome back to our cozy little corner of the crochet world. Today, we’re sharing a beautiful and relaxing project that combines the timeless granny stitch with a fun zigzag or ripple design.
The Crochet Granny Ripple Blanket is a wonderful project for anyone who loves classic crochet textures with a modern chevron effect. The pattern creates gentle peaks and valleys across the blanket, giving it plenty of movement and visual interest without requiring complicated stitches.
One of the best things about this blanket is how simple the stitch combination is. If you know how to make a chain and a double crochet, you already have the basic skills needed to get started. Once you understand the first couple of rows, the repeating pattern becomes easy to memorize and makes for a relaxing project to work on while enjoying your favorite cup of coffee or tea.
Although this pattern is written as a throw-size blanket, the design can easily be adapted. You can make it wider or narrower by adjusting the starting chain in the correct multiple. You can also experiment with different yarn colors, add a traditional border, or finish the peaks with playful tassels.
So grab your favorite yarn and crochet hook, get comfortable, and let’s make this lovely granny ripple blanket together!
✏️ Things to Know Before You Begin
Simple Stitch Combination
This pattern uses only two main stitches:
- Chain stitch
- Double crochet
There are no complicated stitch combinations to memorize. The granny clusters are worked into spaces between groups of stitches, which makes the project particularly comfortable once you get into the rhythm.
If you are new to granny-style crochet, practicing a basic granny square first can be helpful because it will familiarize you with working groups of double crochets together.
Finished Size
The instructions below create approximately a 54-inch-long throw blanket.
If you would like to make the blanket wider or narrower, adjust the foundation chain using multiples of 18. Always make sure your adjusted chain count maintains the pattern repeat so the peaks and valleys line up correctly.
Border Options
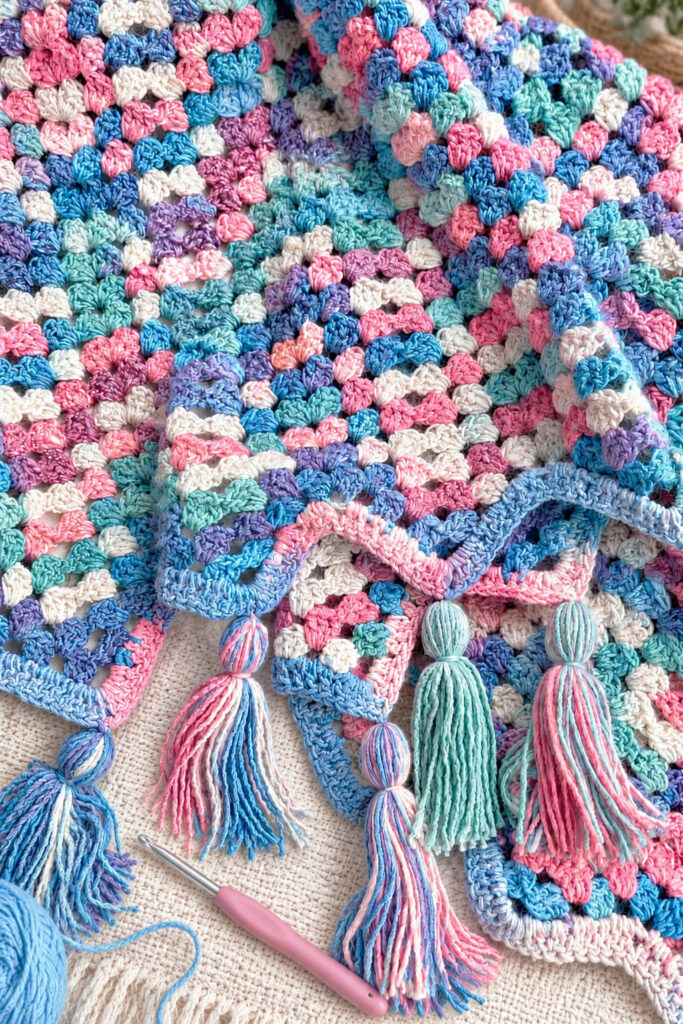
Tassels make a charming finish for this ripple blanket, especially when attached to the peaks. However, they are completely optional.
For a more traditional finish, you can add a simple double crochet border or experiment with a decorative crochet edging.
🪡 Materials Needed
For a throw-size blanket, you will need approximately:
- 6–7 skeins of Red Heart Roll With It Mélange – Showtime
- 5.5 mm crochet hook
- Tapestry needle
- Scissors
The exact amount of yarn will depend on your tension, finished dimensions, and whether you add a border or tassels.
💭 Crochet Abbreviations — US Terms
- ch – chain
- dc – double crochet
- sk – skip
🧋 Ways to Customize Your Blanket
One of the great advantages of this pattern is how easy it is to personalize.
Try making your blanket with:
- Soft neutral shades for a minimalist look
- Bright rainbow colors for a cheerful design
- Two contrasting colors to emphasize the ripple
- Several coordinating colors for a striped effect
- A solid color for a classic textured blanket
You can also experiment with a granny spike stitch or another variation of the traditional granny stitch if you want to give the blanket a slightly different texture.
🍵 Crochet Granny Ripple Blanket Instructions
Granny Ripple Stitch Pattern
The first row establishes the peaks and valleys that create the zigzag shape. After that, the pattern is largely worked into the spaces between granny clusters.
Foundation Chain
Chain 216.
This foundation chain is suitable for the throw-size version described here.
Row 1
Work 3 double crochets into the 5th chain from the hook.
Skip the next 2 chains.
Work 3 double crochets into the next chain.
Skip the next 2 chains.
Now begin creating the first peak:
Peak: Work 3 dc, ch 2, 3 dc into the next stitch or designated space.
Skip the next 2 chains.
Work 3 dc into the next chain.
Skip 2 chains.
Work 3 dc into the next chain.
Now create the valley by skipping 5 chains.
Work 3 dc into the next chain.
Skip 2 chains.
Work 3 dc into the next chain.
Skip 2 chains.
Continue following this peak-and-valley sequence across the entire foundation chain.
When you reach the end of the row, you should have 1 chain remaining.
Work 1 dc into the final chain.
Then:
Ch 3 and turn.
Row 2
Row 2 is where the granny ripple pattern really begins to take shape.
Skip the first group of 3 double crochets and work 3 dc into the space between the granny clusters.
Skip the next group of 3 dc and work 3 dc into the following space.
When you reach the ch-2 peak space, work:
3 dc, ch 2, 3 dc
into the same space.
Continue working 3-dc clusters into the spaces between the existing clusters.
When you reach a valley area, skip the appropriate granny cluster, valley space, and following cluster as established by Row 1.
Then work:
3 dc into the next space.
Skip the next cluster.
Work:
3 dc into the following space.
Continue repeating this sequence across the row.
When you reach the final section, skip the last group of 3 dc and work 1 dc into the top of the turning chain at the end of the row.
Then:
Ch 3 and turn.
Repeat the Pattern
Continue repeating Row 2 until your blanket reaches approximately 54 inches in length, or your desired finished length.
Because the second row follows a repeating sequence, the blanket becomes much easier to work as you progress. Once you recognize the peaks, valleys, and spaces between the granny clusters, you can crochet the rows without constantly referring back to the instructions.
Optional Double Crochet Edge
For a cleaner finish along the top and bottom edges, you can add one row of double crochet stitches.
At the beginning of the row:
Ch 3.
Work double crochet stitches across the top of the blanket.
When you reach a peak, work:
2 dc, ch 2, 2 dc
into the peak space.
At a valley, skip the center stitches as necessary to preserve the ripple shape.
Repeat across the entire edge.
You can add the same treatment to the opposite edge if desired.
🧶 How to Make Yarn Tassels
Tassels are a fun way to finish the peaks of your granny ripple blanket. For the sample throw, approximately 25 tassels are needed.
You will also need a sturdy object approximately 4–5 inches long to use as a wrapping guide.
Step 1: Wrap the Yarn
Wrap the yarn around your chosen object approximately 30 times.
Try to keep the wraps reasonably even so the finished tassels have a consistent appearance.
Cut the yarn from the skein.
Step 2: Secure the Top
Cut a piece of yarn approximately 12 inches long.
Slide it underneath one side of the wrapped yarn and bring both ends toward the top.
Tie the yarn tightly to secure the bundle.
Step 3: Remove the Wrapped Yarn
Carefully slide the yarn bundle off your wrapping object.
Lay the bundle flat on a table or other work surface.
Step 4: Form the Tassel Head
Take another approximately 12-inch piece of yarn.
Place it across the bundle about 1½ inches below the top.
Tie it firmly around the yarn to create the rounded head of the tassel.
Make sure the knot is secure.
Step 5: Cut the Loops
Cut through the loops at the bottom of the tassel.
The yarn should now hang freely.
Trim the ends if necessary to make the tassel neat and even.
Step 6: Attach the Tassels
Attach one tassel to each peak along the blanket edge.
Secure each tassel firmly and weave the loose ends into the blanket so they remain in place.
Trim any excess yarn.
Your beautiful granny ripple blanket is now complete!
ACCESS THE PATTERN
🐌 Expert Tips for a Successful Granny Ripple
1. Keep Your Tension Consistent
Consistent tension will help your peaks and valleys remain even throughout the blanket. If your stitches become noticeably tighter as you crochet, the blanket may begin to change shape.
2. Remember the Turning Chain
If your granny clusters seem to disappear or the edges don’t look right, check that you are making the chain 3 at the end of every row and working the final double crochet into the top of the turning chain where instructed.
3. Consider a Larger Hook
If you naturally crochet tightly, your blanket may feel stiff or become smaller than expected.
Try moving up by ½–1 mm in hook size and make a small swatch to see whether you prefer the resulting drape.
4. Count Your Repeats
The peaks and valleys should remain consistent from row to row. If something suddenly looks uneven, stop and check your previous row before continuing.
It is much easier to correct a mistake immediately than several rows later.
5. Block the Finished Blanket
Blocking is optional, but it can help even out the stitches and improve the overall shape of your finished blanket.
Always choose a blocking method appropriate for your yarn fiber.
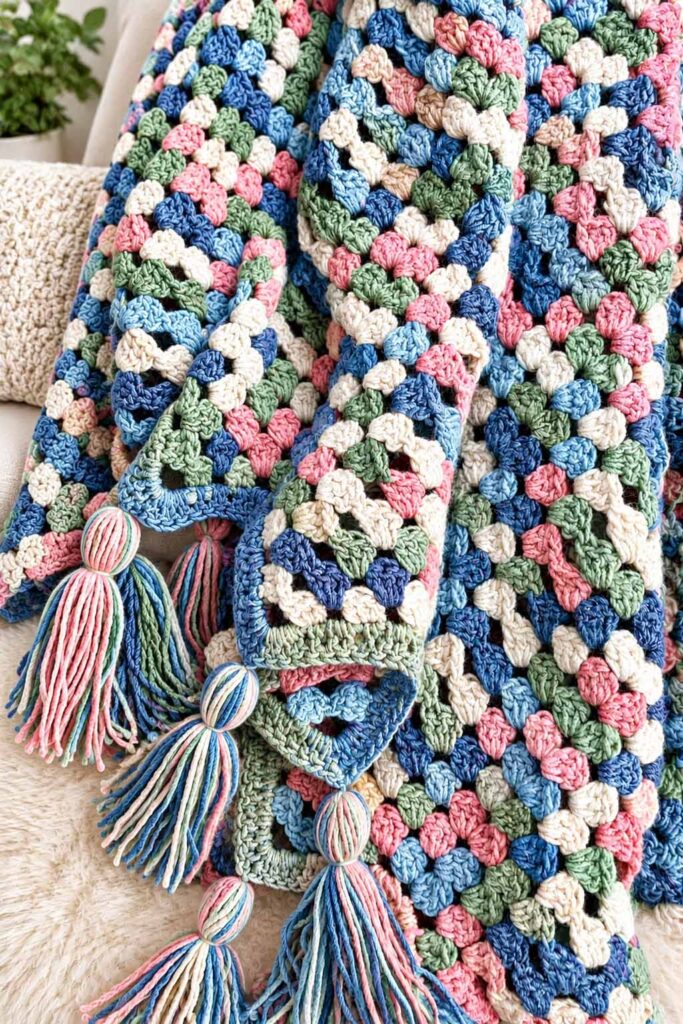
Crochet Granny Ripple Blanket
🧵 Frequently Asked Questions
Can I use a different yarn?
Yes! This blanket can be made with many different yarn types and weights. However, changing the yarn weight will affect the finished dimensions and the amount of yarn required.
For best results, make a small gauge swatch before beginning the full blanket.
Why are my peaks becoming flat?
Flat peaks are often caused by accidentally missing the chain-2 space at the top of the ripple or changing the number of stitches worked into the peak.
Make sure the peak is formed with:
3 dc, ch 2, 3 dc
in the designated peak space.
Also check your tension. Very tight stitches can make the ripple less pronounced.
Can I make the blanket larger?
Absolutely.
To change the width, adjust the foundation chain using a multiple of 18 while keeping the pattern repeat intact.
For a longer blanket, simply continue repeating Row 2 until you reach your desired length.
Can I make this blanket in one color?
Yes. A single-color version gives the granny ripple stitch a clean and elegant appearance and lets the texture become the main feature.
Can I use multiple colors?
Definitely! This is a fantastic pattern for experimenting with color.
You can change colors every few rows, create wide stripes, use a rainbow sequence, or combine several shades from the same color family.
Is this a good project for beginners?
Yes. The stitch combination is beginner-friendly because it relies primarily on chains and double crochet stitches.
The most important part is learning how the peaks and valleys are formed. Once Row 2 becomes familiar, the pattern is quite repetitive and relaxing.
🧶 Final Thoughts
The Crochet Granny Ripple Blanket is a wonderful combination of classic granny-style crochet and a playful zigzag silhouette. It looks much more intricate than it actually is, making it an especially satisfying project for crocheters who want beautiful results without complicated stitch work.
Whether you make it as a cozy throw for your living room, a thoughtful handmade gift, a baby blanket, or simply a relaxing weekend project, there are countless ways to make this design your own.
Experiment with different yarns, colors, sizes, and finishing details. Add tassels for a fun bohemian touch, choose a simple border for a polished appearance, or leave the edges clean and let the ripple design speak for itself.
Most importantly, enjoy the process. Crochet is not only about the finished piece—it is also about slowing down, creating something with your hands, and enjoying those peaceful moments one stitch at a time.
Happy crocheting, and we hope this granny ripple pattern inspires your next beautiful handmade project!


One Comment
Leave a ReplyOne Ping
Pingback:Ripple Ridges Blanket – Free Crochet Pattern - Free Crochet Patterns