

 soofha
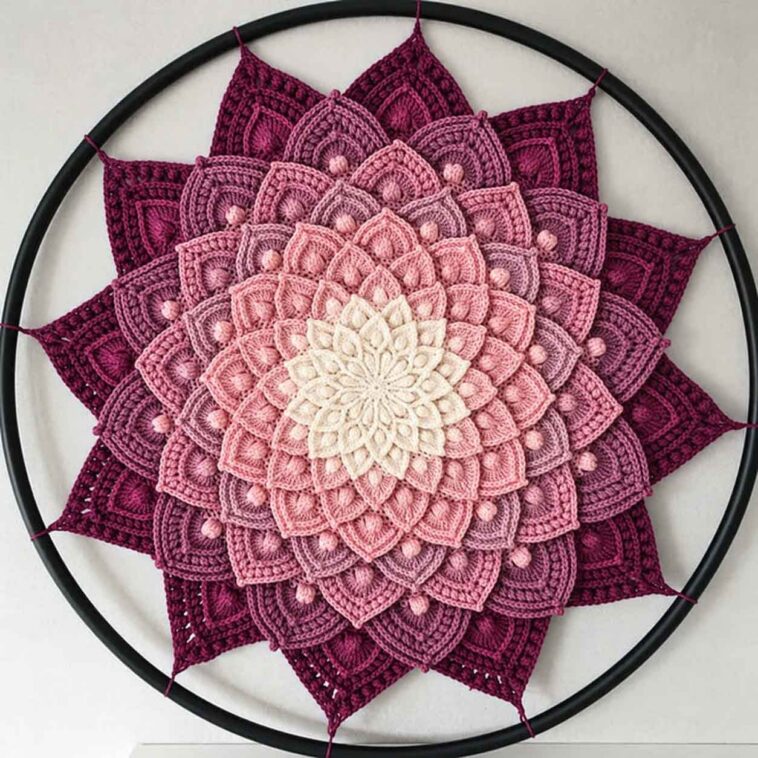
There’s something special about a handmade crochet doily. Even a simple one can make a coffee table feel more inviting or add a lovely finishing touch to a favorite corner of the home. The Asteria Doily is a beautiful example of how a little yarn and some patience can turn into something truly eye-catching.
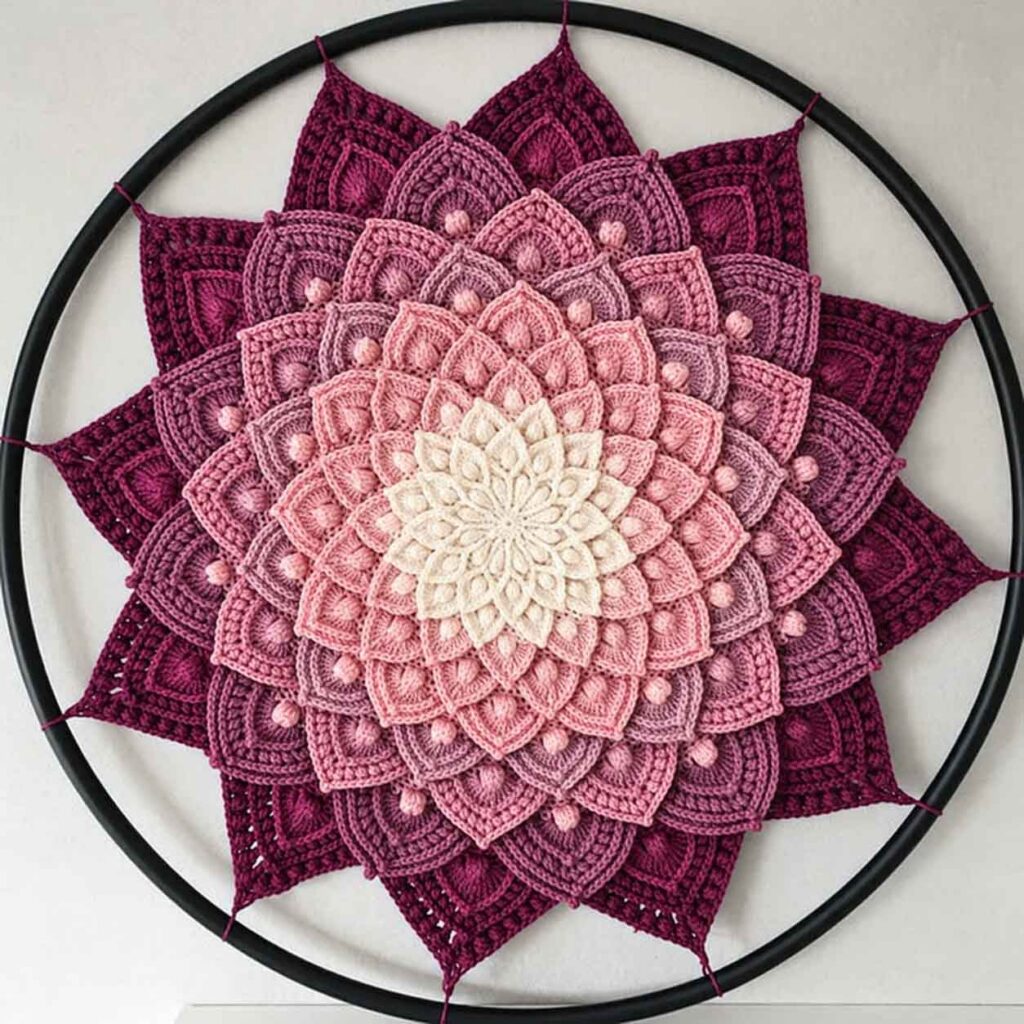
Inspired by the look of stars and delicate lace, this doily has an elegant design that grows outward from the center. Each round adds another layer of detail, creating a lovely starburst effect that gives the finished piece its distinctive charm. It would look beautiful on a side table, beneath a vase of fresh flowers, or displayed on a dresser alongside a few favorite decorations.
If you enjoy traditional crochet but want to make something that feels a little different, the Asteria Doily is a lovely project to try.
What Makes the Asteria Doily Special?
The first thing you notice about the Asteria Doily is its intricate lacework. The star-inspired details at the center gradually open into a wider pattern, with delicate stitches that give the design a light, airy appearance.
Although doilies are often associated with vintage home décor, this design can fit just as naturally into a modern home. Choose classic white or cream for a timeless look, or experiment with a soft pastel shade to give your finished piece a more contemporary feel.
It’s also a thoughtful handmade gift for someone who appreciates crochet and the time that goes into creating something by hand.
Crochet Skills You’ll Need
The Asteria Doily is best suited to intermediate crocheters, although adventurous beginners may enjoy giving it a try. If you already know the basic stitches, you’ll have a good starting point.
Here are the main stitches to review before getting started:
- Chain (ch): Creates the foundation chains and spaces used throughout the pattern.
- Slip stitch (sl st): Helps join rounds and move neatly between stitches.
- Single crochet (sc): A short stitch that adds structure and definition.
- Double crochet (dc): A taller stitch commonly used to build the lace pattern.
- Treble crochet (tr): Adds extra height and helps create open, decorative sections.
- Picot stitch: A small decorative detail often used to give crochet edging a delicate finish.
If you haven’t worked with all these stitches before, take a little time to practice them on a small swatch. Getting comfortable with the stitch movements before starting can make the project much more enjoyable.
Note: These are the stitches highlighted in the pattern overview. Refer to the original pattern for the exact stitch placement and instructions for each round.
Tips for a Beautiful Finished Doily
A few simple habits can make a real difference when working on a lace crochet project like this one.
1. Take Your Time With Each Round
Doily patterns often use repeated stitch groups, so it’s worth checking your work at the end of every round. If the stitch count looks wrong or the edges begin to ruffle unexpectedly, take a moment to review the instructions before continuing.
It’s much easier to correct a small mistake early than to discover it several rounds later.
2. Use Stitch Markers When Needed
Stitch markers can be especially helpful if you’re new to working in rounds or using fine crochet thread. Marking the beginning of a round makes it easier to see where each section starts and helps you keep track of your progress.
You don’t need anything complicated—a simple removable stitch marker will do the job.
3. Keep Your Tension Consistent
Try to keep your stitches even throughout the project. Tight stitches can make the lacework difficult to open up, while loose or inconsistent tension may affect the shape of the finished doily.
If you’re using a fine thread, work at a comfortable pace and avoid pulling the yarn too tightly after each stitch.
4. Don’t Skip Blocking
Blocking is one of the most important finishing steps for a lace doily. It helps open up the stitches, define the star-inspired details, and give the outer edge a neat, balanced shape.
Once you’ve finished crocheting, gently dampen the doily according to the care instructions for your yarn or thread. Place it on a suitable blocking mat, shape it carefully, and pin the edges and decorative points into place. Allow it to dry completely before removing the pins.
You’ll often be surprised by how much more clearly the pattern shows once the piece has been blocked.
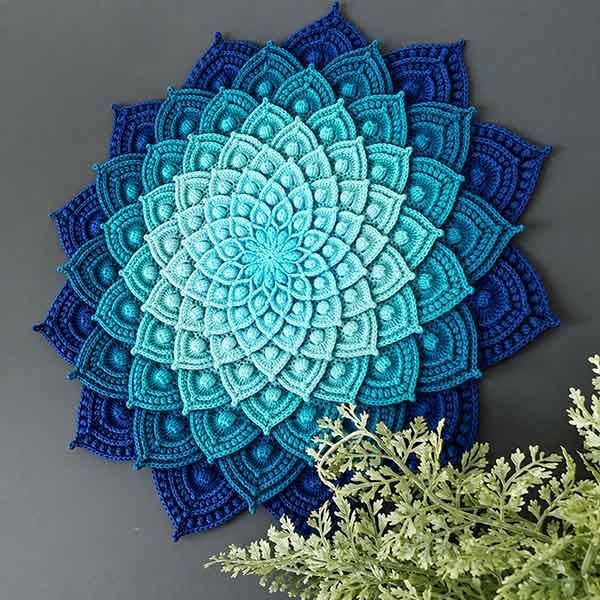
Asteria Doily Crochet Pattern
Free Asteria Doily Crochet Pattern
Ready to make your own Asteria Doily?
The complete pattern is available as a free PDF, with the detailed instructions and helpful visuals you need to follow the design. Before beginning, gather your crochet supplies and read through the pattern so you know what to expect in each round.
Get the free pattern here: Asteria Doily Crochet Free Pattern
Use the original pattern link to access the PDF. The complete round-by-round instructions, yarn requirements, and hook size should be taken from that source, as they aren’t included in this article.
Final Thoughts
The Asteria Doily is a lovely project for anyone who enjoys delicate crochet and decorative details. Its star-inspired design gives a traditional doily a distinctive look, while the lacework makes it a beautiful addition to a coffee table, shelf, or sideboard.
Whether you make one for your own home or create it as a handmade gift, take your time with the stitches and give the finished piece the attention it deserves. A little patience, careful finishing, and proper blocking can help bring out the beauty of the design.
Gather your supplies, find a comfortable spot to crochet, and enjoy watching the pattern take shape one round at a time.
Happy crocheting!

